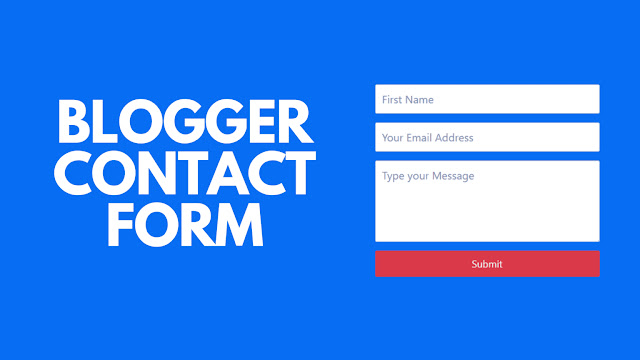
Adding a contact form to your Blogger site is a great way to allow visitors to get in touch with you directly. Unlike WordPress, which has a variety of plugins, Blogger requires a slightly different approach. This guide will show you step-by-step how to add a contact form to your Blogger site using the built-in Blogger widget as well as custom HTML options for more advanced forms.

Why Add a Contact Form in Blogger?
A contact form allows visitors to send you messages without needing to reveal your personal email address on your website. This can help:
- Protect your privacy by keeping your email address hidden.
- Increase engagement by providing an easy way for visitors to reach out.
- Filter spam better than posting an email address directly.
Method 1: Using the Built-In Blogger Contact Form Widget
Blogger offers a simple contact form widget that you can add to your sidebar or any widget area. While it’s limited in customization, it’s quick and easy to set up.
Step 1: Go to Your Blogger Layout
- Sign in to your Blogger Dashboard.
- From the dashboard, select Layout from the left menu.
Step 2: Add a New Gadget
- In the Layout section, click on Add a Gadget where you want the contact form to appear (usually a sidebar or footer).
- A pop-up window with various gadgets will appear. Scroll down and select Contact Form.
Step 3: Configure the Contact Form
- You can rename the form title, like changing it to “Get in Touch” or “Contact Us.”
- Click Save to add the gadget to your chosen widget area.
- Drag and arrange the contact form gadget to position it exactly where you want on the page.
Step 4: Test the Contact Form
After saving, go to your website to ensure the form is visible. Enter a test message to make sure it’s working correctly. Blogger will send the messages directly to the email associated with your Blogger account.
Method 2: Embedding a Custom Contact Form Using Google Forms
For more customization options, you can use Google Forms to create a contact form and embed it on your Blogger site. Google Forms is free, user-friendly, and offers a variety of form field options.
Step 1: Create Your Contact Form in Google Forms
- Go to Google Forms and sign in.
- Click on Blank to start a new form.
- Add fields like Name, Email, and Message. You can customize each field and add more if needed.
Step 2: Get the Embed Code
- Once you’ve created the form, click on the Send button in the top right corner.
- Select the Embed icon (a pair of angled brackets
<>). - Copy the HTML code provided.
Step 3: Embed the Form in Blogger
- Go back to your Blogger dashboard and select Pages or Posts depending on where you want to display the form.
- Create a new page or post, or edit an existing one.
- Switch to the HTML view in the editor and paste the Google Forms embed code.
- Switch back to the Compose view to see the form and make any adjustments.
Step 4: Publish and Test
Publish the page or post with the embedded form. Test it by filling out the form to make sure the responses go to your Google Form's linked spreadsheet.
Method 3: Using Third-Party Form Builders (e.g., JotForm, Formspree)
If you need advanced features, such as file uploads or additional design options, third-party form builders like JotForm and Formspree offer robust alternatives. Here’s how to integrate a contact form using JotForm as an example.
Step 1: Create a JotForm Account and Form
- Go to JotForm and sign up for a free account.
- Create a new form and add the fields you need (Name, Email, Message, etc.).
Step 2: Get the Embed Code
- After creating your form, click on Publish at the top.
- Select Embed from the publishing options.
- Copy the code provided.
Step 3: Embed the JotForm in Blogger
- In your Blogger dashboard, go to Pages or Posts depending on where you want the form.
- Create a new page or edit an existing one, then switch to HTML view in the editor.
- Paste the JotForm embed code and switch back to the Compose view to verify the form’s appearance.
Step 4: Publish and Test
Publish the page or post with the embedded form. Test the form to ensure that submissions go to your JotForm account.
Tips for Using Contact Forms in Blogger
- Keep the Form Simple: A basic contact form with fields for name, email, and message is often all you need.
- Test Regularly: Test your form periodically to make sure it’s working as expected.
- Check for Spam Protection: If using third-party services, ensure there’s some form of spam protection, such as CAPTCHA.
- Provide a Thank-You Message: Let users know their message has been sent by displaying a thank-you page or confirmation message.
Final Thoughts
Adding a contact form to your Blogger site is a quick way to make your site more interactive and user-friendly. Whether you use Blogger’s built-in contact form widget, Google Forms, or a third-party form builder, you can create a form that suits your needs. Each method has its own advantages, so choose the one that best fits your design and functionality requirements. Happy blogging!
